Alex Galuzin.com
Canon R6 Mark II: How to Attach a Screen Protector to Protect Your LCD Display
Photography
October 08, 2025
In this post, I'm going to show you how to attach and protect your LCD screen on your Canon R6 Mark II.
Video Tutorial
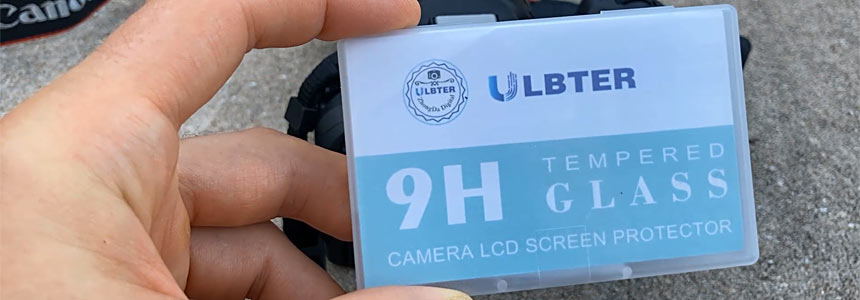
The Screen Protector I Bought
Here is the LCD screen protector I bought.
What's Included
It comes with 3 screen protectors. When you open it up, you get:
- Three wipes
- Some dust absorbers
- Three different screens
- Instructions
Steps to Apply the Screen Protector
Basically, you clean the screen first using the wipes. Then you can use the dust absorber if there's any dust. And then you attach the protector.
I'm not going to use any of these because my screen is very clean at the moment. But if I had some dust or dirt, then I would use the provided wipes. Since there are 3, I'm only going to use one and I'll keep the other 2 just in case.
- Open up the screen protector. Notice that it says "back." When you peel this off, there's an adhesive. This is the part that's going to go onto the screen.
- Make sure that whenever you peel this off, you do not touch the adhesive part.
- Open up the camera screen so it's a little easier to put it on.
- Align the protector how it's going to go.
- Peel the sticker. Again, make sure you don't touch the adhesive part.
- Very carefully put it on so it lines up just right.
- Rub your fingers all over so the bubbles disappear.
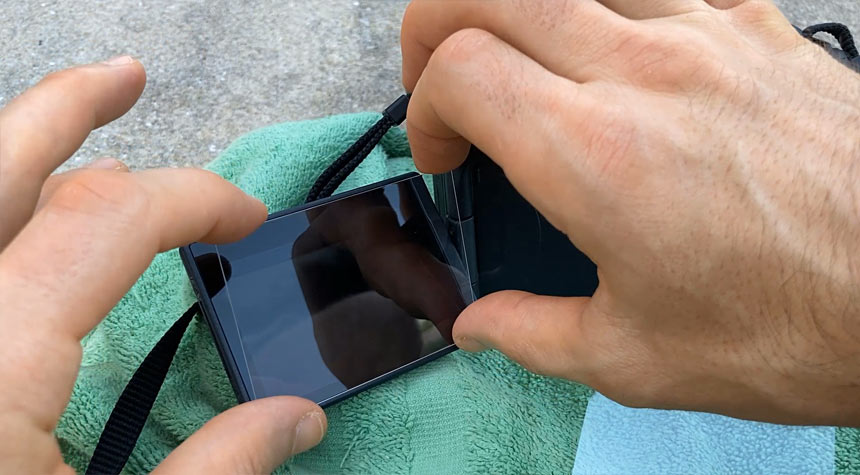
Testing the Screen Protector
Now turn on the camera and test.

And that's how you put on a screen protector onto your Canon R6 Mark II.
"Preproduction Blueprint"
I wrote a book on how to plan your level designs and game environment art. Buy the book in PDF, Paperback or Kindle version.
Subscribe: AG Email Updates
Follow Me


Recommended Posts: Start Here
-
 Fight Event: BCT1
Documenting and capturing first fight event. -
 Why I Bought Canon R6 Mark II
Upgrading and buying a new camera Canon R6 Mark II. -
 Capturing Lightning Tips
Capturing lightning for first time tips. -
 Photography Experiments #1
Collection of best photos part 1. -
 Canon 60D: Max ISO 12800
How to max out your ISO on Canon 60D.
About AlexG

Your Support Makes This Blog Possible
Some of the blog posts may include Amazon affiliate links to mentioned camera gear and related products. I am an Amazon Associate and earn a small commision from qualifying purchases. Your support helps to continue running the website and sharing my photography experiences on the blog.