Alex Galuzin.com
Documentary Style Photographer Documenting Fighters, Warriors, Rebels, Artists
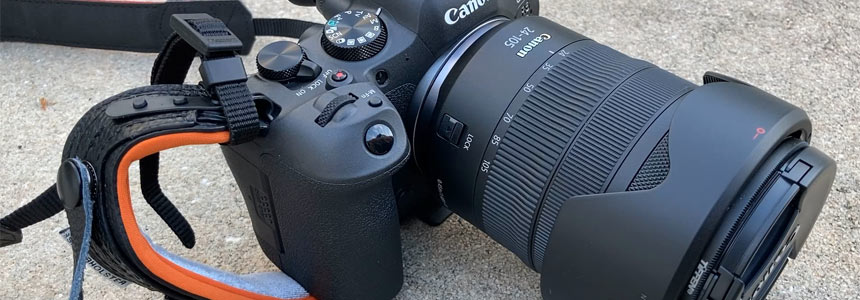
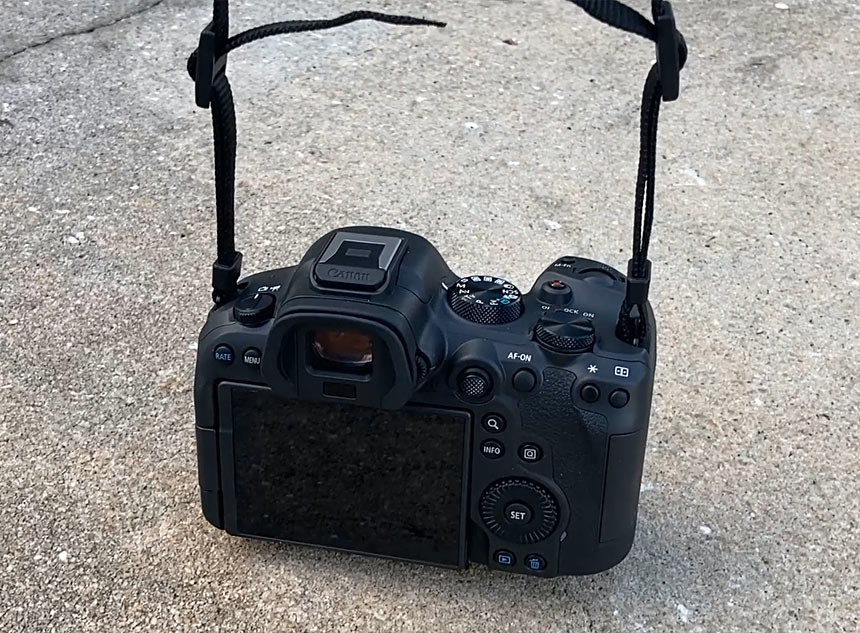
Canon R6 Mark II: How to Attach Camera Neck Strap and Spider Pro Handstrap to Your Camera
Canon R6 Mark II
October 20, 2025
In this post, I will show you how to set up your Canon R6 Mark II with 2 important straps.
First, you'll learn how to attach a standard camera neck strap from start to finish.
Second, I'll walk you through installing the Spider Pro Handstrap V2, including how to securely attach it to the camera.
I also show you my preferred way to keep the neck strap on at the same time.
Whether you want just one or both straps, this step-by-step post will guide you through.
Tutorial 1/2: How to Attach Your Camera Strap to a Canon R6 Mark II
Here's a guide on how to put your camera strap onto your Canon R6 Mark II. This will also work on any other camera you have.
Video Tutorial
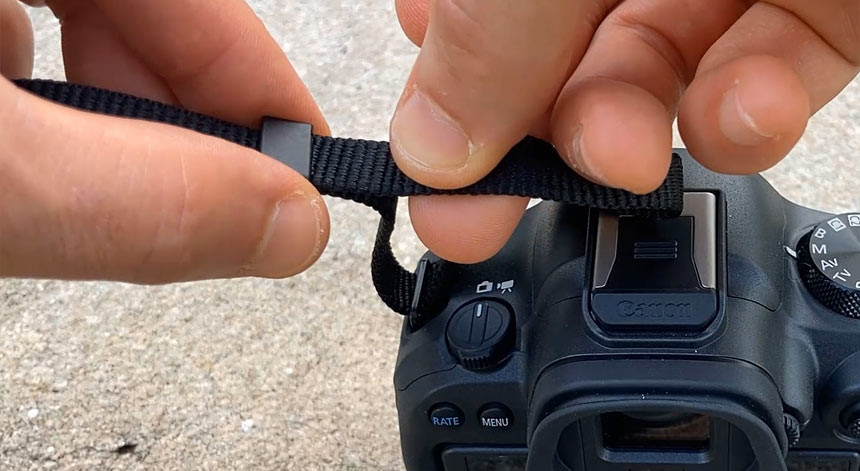
Preparing the Strap
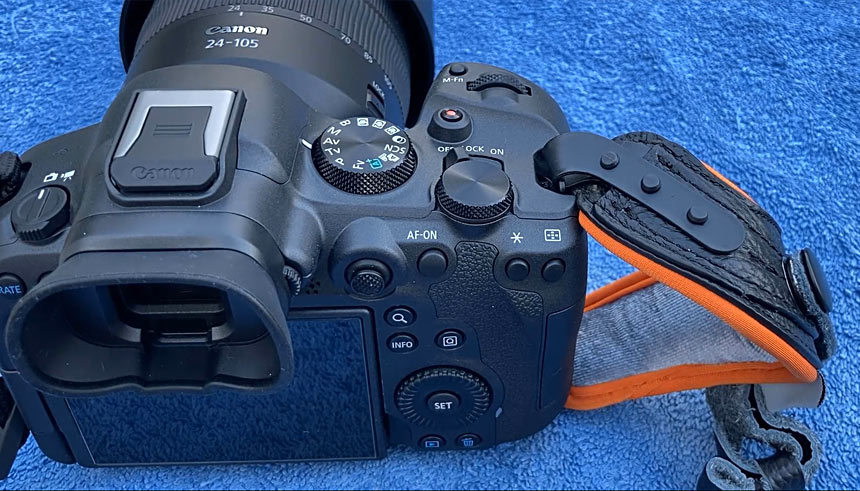
Start with the strap as it comes in the box. Make sure the logo is facing you. Position the camera with the lens facing away from you and the display and viewfinder facing you.
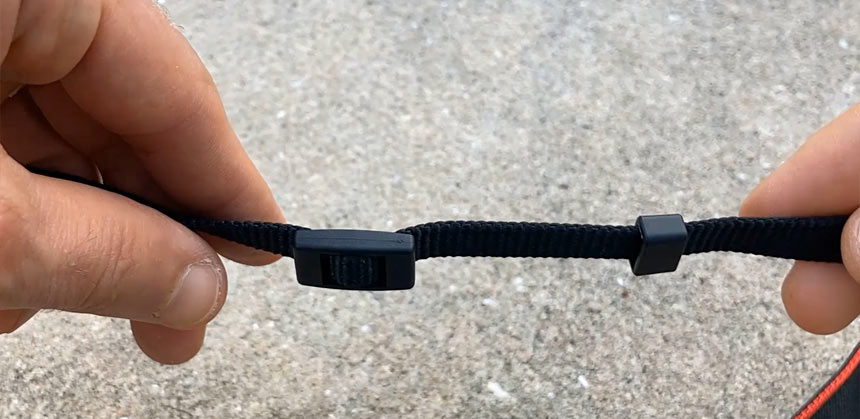
Undo just the top loop. Give it a little bit of slack and create a bit of space. Take the end and release it to get rid of it. Keep one of the straps running through, but the top one needs to come out completely. This is what you should see. You should have one single line of the strap.
At this point you are ready to start looping it into the camera.
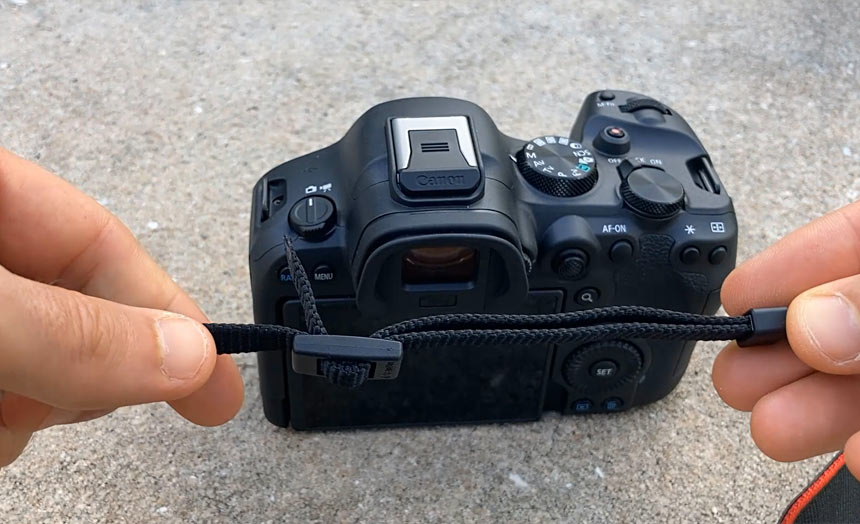
Attaching the Strap to the First Side
Take the end of the loop and run it from the outside to the inside. Make sure the logo is facing you so this is not inside out when you put it on. Run it right into this loop. Now go ahead and pull it through.
Take the end and run it through the plastic.
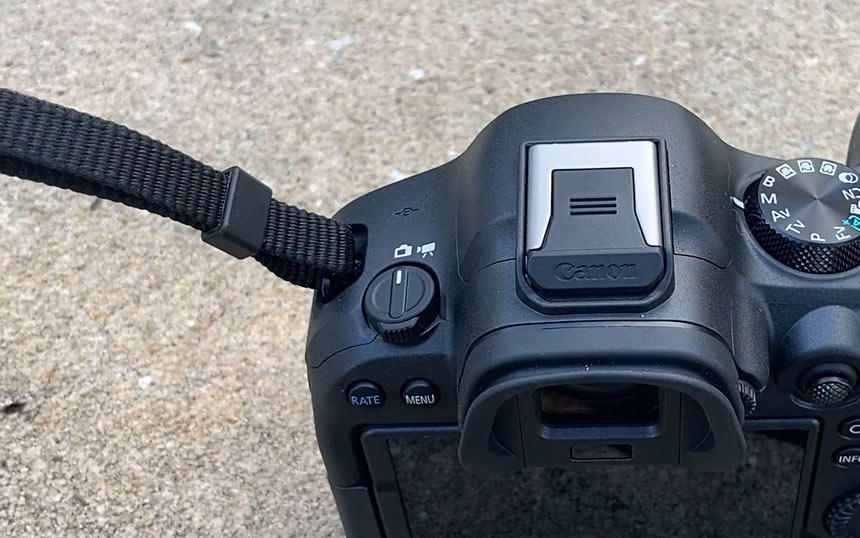
Then run it back through the main security piece of the plastic where it's going to hold your camera together. Run it through like you had it before. This is what you should see.
Pull it through and tighten it. There you go. One side done.
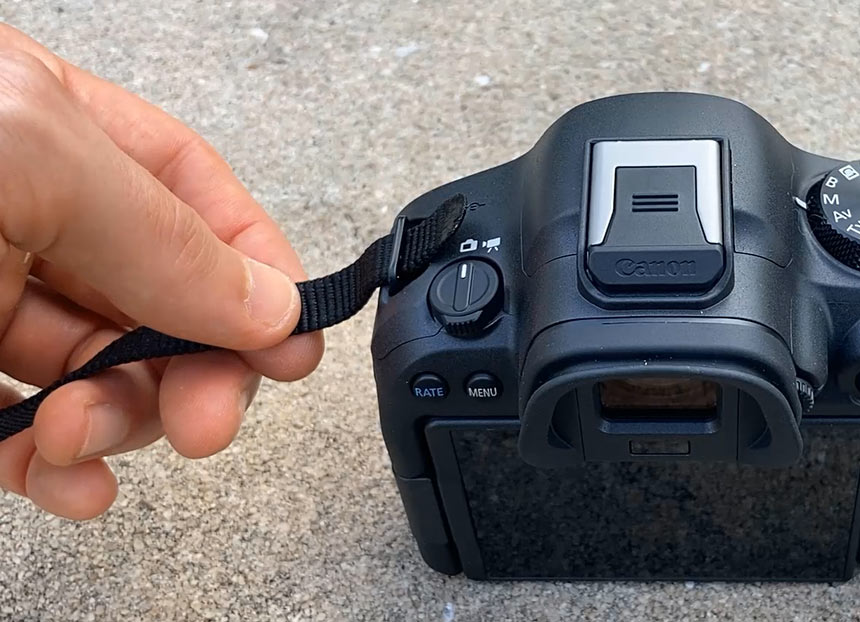
Attaching the Strap to the Other Side
Repeat the same steps on the other side.
Tutorial 2/2: How to Attach Spider Pro Handstrap V2 to Your Canon
In this guide, I'm going to show you how to attach this Spider Pro handstrap V2 onto your Canon R6 Mark II. I will also show you how you can have the neck strap on at the same time for a more secure connection. I like to have both the Spider Pro and the neck strap on together, but the neck strap is optional. Most people do not use it together, but I do.
Video Tutorial
What Comes in the Box
The package includes:
- Instructions (you do not need these).
- Allen wrench.
- Bunch of attachments (you do not need these extra attachments for the Canon R6 Mark II).
- Rubber piece (you do need this).
- Washer (this goes on top).
You will attach the handstrap using the rubber piece on the bottom and the washer on top.
If you do not have a tripod plate, you will need the screw and Allen wrench. If you have a tripod plate like I do, you do not need the screw. I am using my tripod plate.
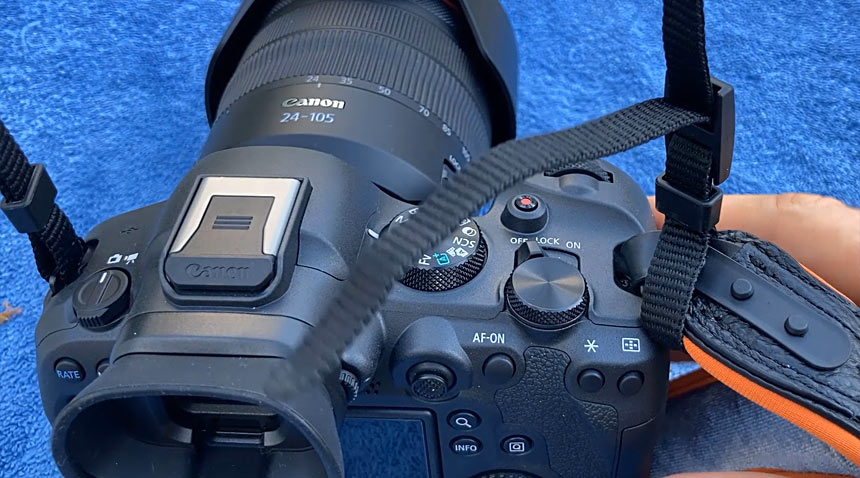
Removing the Existing Strap (If Needed)
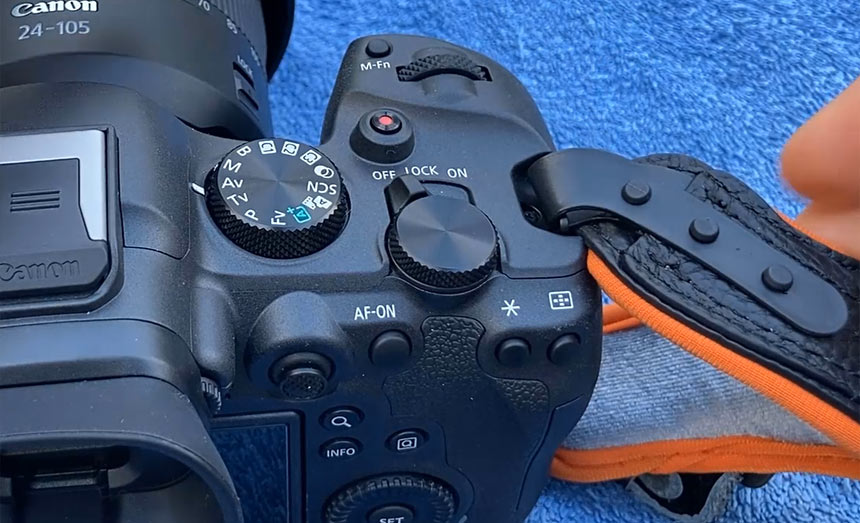
If you have a camera strap attached to your Canon R6 Mark II, disconnect it from the right hand side.
Attaching the Spider Pro Handstrap
- Take your hand strap and make sure the soft part on the bottom is facing the camera.
- The three pins need to be facing up.
- Run the plastic piece through the camera strap loop.
- Wrap the plastic piece back around and attach it to the three pins. Fold and snap it to each one. You should hear a snap sound for all three.
This is how it should look at the top.
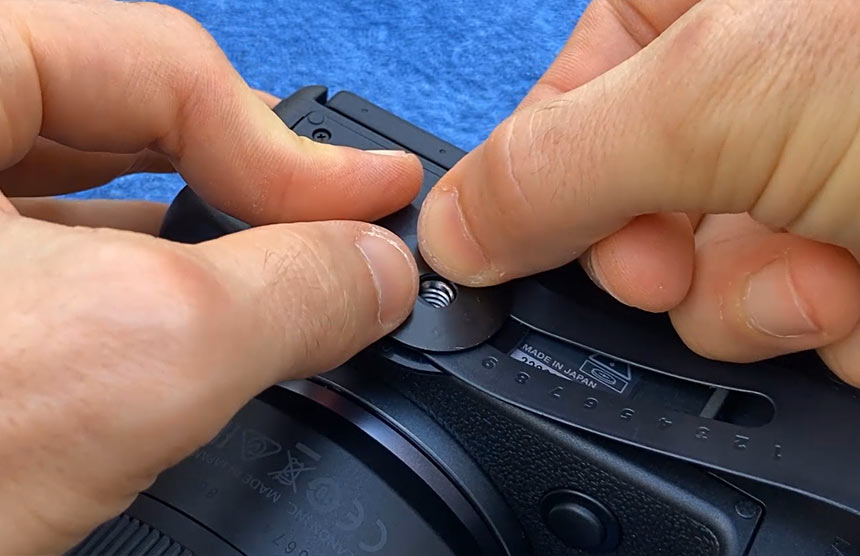
Attaching to the Bottom of the Camera
Flip the camera around. The bottom piece attaches to the bottom of the camera.
- First, make sure you can run your hand through it so you know how much to tighten.
- Put the rubber piece on the bottom to protect your camera.
- The plastic piece goes on top.
- The washer goes on the very top.
- Use the provided screw or your tripod plate. I am using my tripod plate and its Allen wrench.
Here is the setup before the attachment using the provided screw or your own tripod plate:
Here is me using the tripod plate instead:
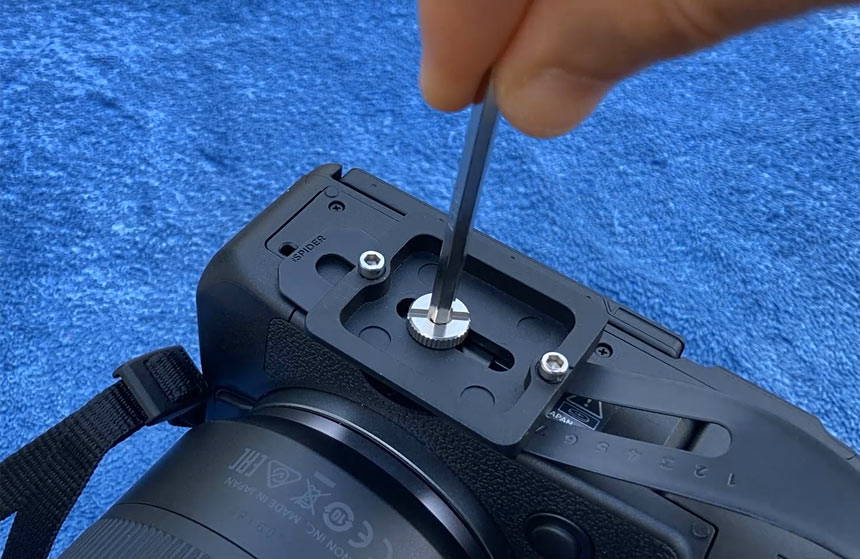
Before you tighten it, check that you can put your hand through comfortably with enough space. Then tighten it and make sure it is secure.
The Spider Pro handstrap version two is now attached. It is secure at the top and bottom and feels nice and tight with the camera secure in your hand.
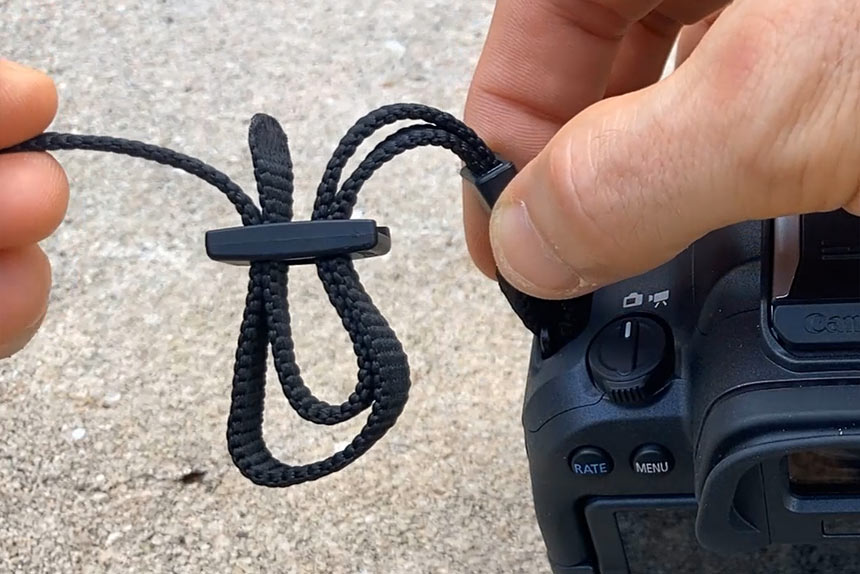
Optional: Adding the Neck Strap at the Same Time
You cannot run the neck strap through the same loop where the Spider Pro handstrap is attached.
Instead:
- Run the neck strap through and attach it around the Spider Pro strap.
- Make sure the plastic piece goes through the strap once.
- Take the strap, go around it.
- Run it through the loose plastic piece and pull it through.
- Give a little bit of slack.
- Take the end of the strap, run it underneath, and run it back through.
- Tighten it so it is close to the strap.
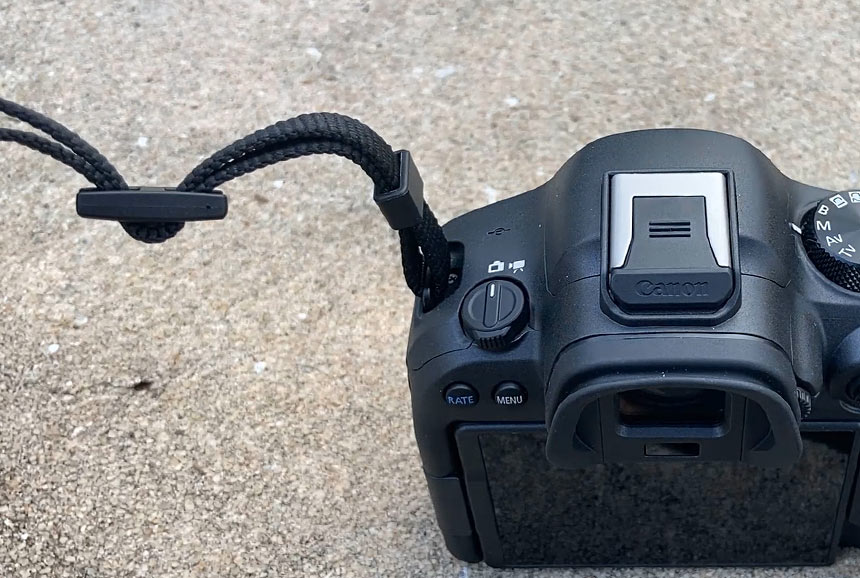
Here is how it looks on my camera:
Now you have the option to use the neck strap as well as the Spider Pro handstrap. I love having both.
Portfolio Gallery
My name is Alex. Former fighter, now photographer. I'm documentary style photographer specializing in documenting fighters, warriors, rebels, artists, creators, business owners in their natural environments.
Subscribe: AG Email Updates
Follow AlexG


Photography Portfolio


Recommended Blog Posts
-
 Fight Event: Valhalloween 7
First time using Canon R6 MII in a caged fight event. -
 Fight Event: BCT1
Documenting and capturing first fight event. -
 Why I Bought Canon R6 Mark II
Upgrading and buying a new camera Canon R6 Mark II. -
 Capturing Lightning Tips
Capturing lightning for first time tips. -
 Photography Experiments #1
Collection of best photos part 1.
Blog Categories
About AlexG Photography
Quick Disclaimer on Blog Posts
I share my photography and creative workflow process through many of the blog posts. Some of these posts may include Amazon affiliate links to mentioned camera gear and related products. I am an Amazon Associate and earn a small commision from qualifying purchases. Your support helps to continue running the website and sharing my photography process/workflow work on the blog.